Payment by Invoice |
 How to find our store
 info@kurierbedarf.com
 Purchasing for Swiss customers
Airline rails are often mounted in the rear garage of motorhomes. Smaller items such as bicycles, awnings, chairs, tables or other camping utensils can be secured there.
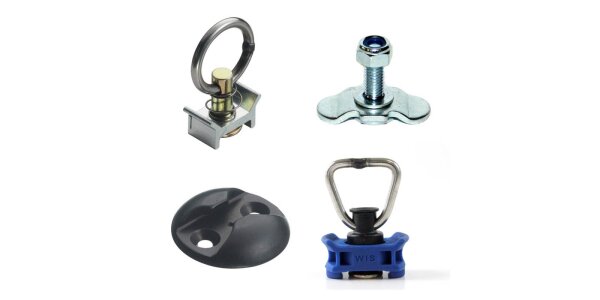
With plastic fittings and lashing straps or lashing straps that already have a plastic fitting sewn on, lashing items to the airline rail is child's play and can be done in no time at all.
As any large storage space in motorhomes is referred to as a rear garage, these can also be located inside the vehicle. The plastic fittings for airline rails significantly reduce noise in the motorhome. The fittings fit very tightly and without play in the lashing rail and do not allow any rattling noises due to the material.
Which airline rail should be fitted in the rear garage?In principle, any airline rail profile can be installed in the rear garage. For installation on the straight wall, we recommend the half-round profile. The half-round rails have a bead on both sides next to the adhesive surface to absorb excess adhesive.
For space-saving corner installation, the airline rail XXS, narrow-light or the corner profile light is suitable.
All Light profiles can be used for slightly curved surfaces. These are flexible and easy to adapt to the surface.
The half-round Light airline rail can also be mounted on the floor of the rear garage. Thanks to its semi-circular shape, the airline rail has no protruding edges. There is space for bicycle holders or Euro crates can be lashed directly to the floor.
Which airline rail can be mounted on the outside of the motorhome?All anodized or powder-coated lashing rails and especially the airline rail with trapezoidal profile are ideally suited for outdoor use. Due to its shape, the trapezoidal profile is predestined for mounting brackets of all kinds.
The coated rails are well protected against corrosion and weathering.
The ends of the rails can be covered with the corresponding end caps to protect against unnecessary injuries.
Motorhomes usually have a GRP sandwich body, converted panel vans are the exception in this case.
Inside the sandwich panels there is usually an insulating material made of PU foam (polyurethane), which does not provide any grip for screws.
In this case, we recommend screwing and gluing the airline rails together.
With the adhesive Sikaflex 554 or comparable adhesives with the same properties, the airline rail can achieve a high tensile force with an even distribution of force.
As most airline lashing rails are not pre-drilled, they can be bonded evenly without the adhesive leaking out of the drill holes.
The airline rail can be fixed in place with a few screws.
To achieve an even adhesive seal, the adhesive can be applied in the form of a triangular bead.
The bead should be applied twice as high as the final bonding distance between the bonding surfaces.
The parts to be bonded should be brought together before forming a skin.
The application of the adhesive and the preparation of the bonding surfaces are crucial for bonding airline rails.
The surfaces on both sides must be free of grease, dust and oil, dry and therefore clean!
The bonding surfaces can be cleaned with silicone remover, acetone or similar cleaners that do not leave a greasy film.
Roughening the surfaces promotes the bonding of the two adhesive surfaces.
We recommend the use of a primer.
Important note: Please observe the ambient temperature and the information on the adhesive data sheet.
The installer of the load securing equipment is responsible for the installation and the resulting possible load!